|
|
|||||||||||||||||||||||
|
6. Kerosene heaters and cookers
12.
Electrical; generators
Miles Stair's SURVIVAL
Miles Stair's
SURVIVAL
|
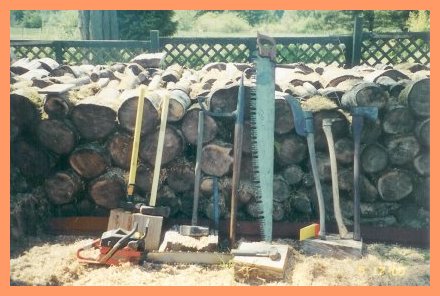
WOOD CUTTING AND SPLITTING TOOLS There is a popular image of one strong guy with rippling muscles, using only a double bit axe, building a log cabin and chopping all the firewood for heating and cooking with his one trusty tool. That image is patently false, as you will be able to judge for yourself. There are
a great many tools which have been invented
precisely to make specific operations
easier...or even possible. I gathered up
some of my tools and laid them against a
wood pile. Though by no means complete,
this does represent what is actually needed
to efficiently gather firewood for cooking
and heating.
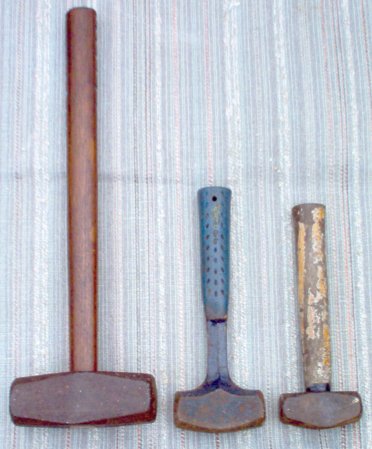
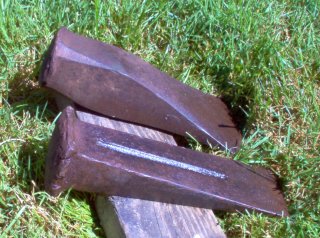
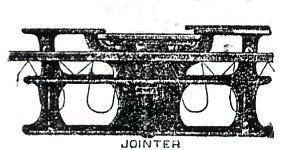
In the photo, left to right, are the following tools: 6 pound splitting maul, 8 pound splitting maul, 11 pound sledgehammer, peavey (or cant hook), cross cut saw, brush hook, pickeroon, and a Pulaski. On the ground is a Jonsered s chain saw, and in front of the saw is a 4 pound single jack.
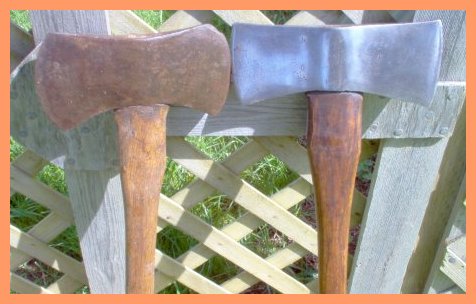
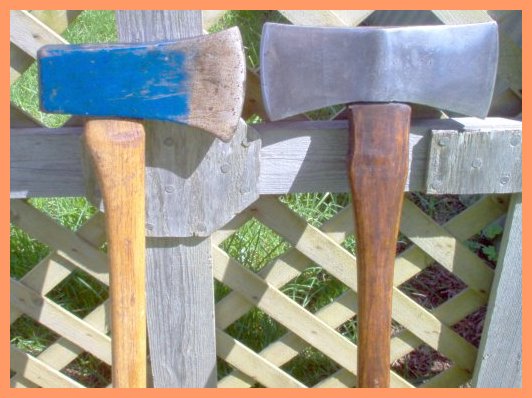
Limbing and utility work is very hard on an axe - look at the chips in the blade compared to the shiny falling axe. The falling axe is pristine even though used for decades by my father and grandfather. Neither should be used to split wood! Single bit axes usually fall into the utility category. They are safer to use when cutting limbs off trees and other utility work, compared to a double bit axe.
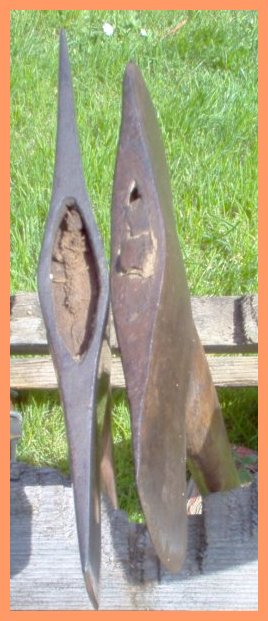
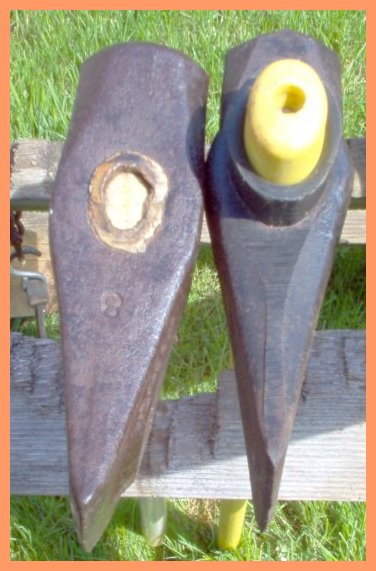
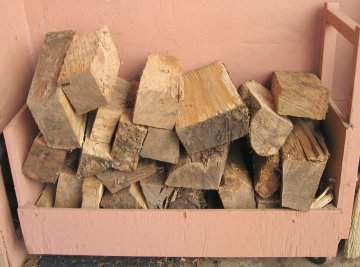
Splitting wood into stove-sized pieces should be done with the proper splitting maul, or a sledge hammer and wedges. These tools are needed even if you have a hydraulic log splitter. A hydraulic log splitter will save an incredible amount of energy compared with manual tools, but occasionally a piece of oak or other tough wood will not split cleanly, and then a splitting maul becomes very handy. For more on splitting wood with a hydraulic log splitter, click here.
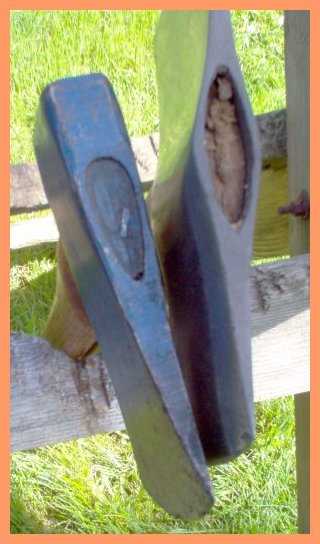
Steel is hardened and tempered to perform various tasks, and they are often not interchangeable. A splitting maul, for example, should NEVER be used as a sledgehammer, or slivers of metal can be sheared off and put out an eye from a great distance. If you have to drive steel wedges into large or knotty sections of wood to split them, then always use a sledgehammer to drive the wedges. Start the steel wedge into the wood by driving it in an inch or so with a "single jack," then you can use a long handled sledge hammer without the wedge fear of the wedge coming back out - fast!
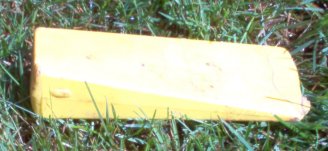
Splitting wedges are steel - cutting wedges are plastic - and they are not interchangeable!
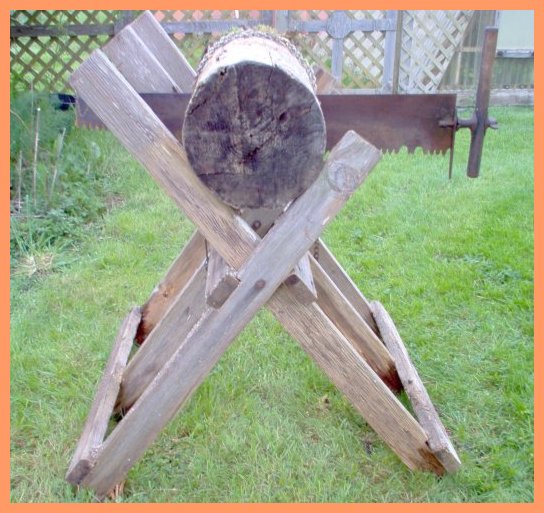
One should never saw into dirt, or try to saw through brush. The brush hook is used to clear out the area around a tree before felling, and to clear brush away from a fallen tree. The limbs are best cut off using a heavy single bit axe or Pulaski, then fireplace size chunks (usually 16") are cut using the saw. To avoid cutting into soil and dulling the teeth very quickly, the log is cut about 2/3rds of the way through every 16" (or whatever is best for you), then the log is rolled over using the peavey, raised somewhat by placing some sections of limb near the middle of the log. The cuts are then on the bottom, so the log may be cut through from the top to match the bottom cut, and the saw never touches the ground. Each section is then pulled away with a pickeroon, if available, before another cut is made. If a log is too large to be rolled over, or has fallen in such a way that it cannot be moved, then the cut should be held open with a plastic wedge when there is space above the saw blade. Never use steel wedges around a saw! Use a plastic wedge and drive it with a single jack. Falling wedges should also be plastic, and driven with the single jack, not a maul. Splitting wedges are steel - cutting wedges are plastic - and they are not interchangeable!
It
should be obvious that the saw used
should have sharp teeth. If you use a
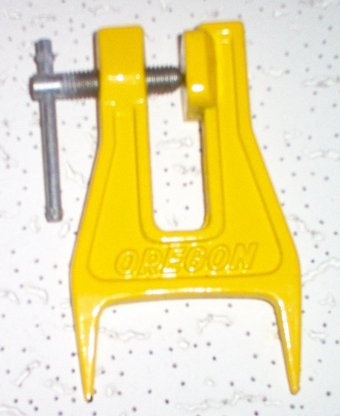
chainsaw, filing the teeth means having
a proper file in a gauge, and the saw
bar should be clamped in a vise so it
won't move. Sharpening large cross cut
saws is a bit more of a challenge. The
proper file and set gauges can often be
found in junque or antique shops - as
long as you know what to look for and
recognize it as a tool. File and set
gauges can also be found on
eBay...search under "crosscut saw."
Then you need instructions on how to
use those tools, as the knowledge base
has evaporated with the demise of the
older loggers. The instructions for
sharpening are here.
USING CROSSCUT SAWS FOR CUTTING FIREWOOD (Click Here)
TOOLS ARE PRECIOUS - AND IRREPLACEABLE IN HARD TIMES! Your tools are precious - they may be irreplaceable in hard times. Fortunately, it is easy to keep all your tools in sturdy plastic boxes (crates?) like those used to distribute gallon milk containers to stores. This type of box is now sold by many stores and need not be "liberated" from behind a grocery store. There is almost nothing worse than going out to work on cutting firewood and finding you have left some essential tools behind, or spending half a day trying to find where they all are before you can even begin that day's work. The crates solve that problem. For wood gathering tools (except crosscut saws), I have a large crate for my larger saws (an end cut open for the bars); a crate for wedges, ear muffs (chain saws make NOISE), single jack, saw sharpening tools (in a box to protect them), heavy work gloves, 16" marking stick, a limb saw to cut a small slice every 16" so I get uniform sections for easy stacking, etc; and a small crate with a couple of layers of cardboard on the bottom for chain saw bar oil and a gas/oil can for fuel. Every crate has a 1 foot long piece of parachute cord tied to one corner, and to the other end, a medium sized brass snap hook. On each rear corner of the pickup bed I have screwed in an eye bolt, so the snap hooks clip to the eye bolt and keep the crate from sliding around. Logging chains are an exception to keeping woodcutting tools in crates...the chain links fall out the holes in the sides and the bottom. For logging chains, I use 50 caliber ammo cans. After use in the woods, the chains are of course wet, and they will rust. The sealed 50 caliber ammo cans make it easy to spray WD-40 or NAPA Chain & Cable Lube on the chains in the can, and the rattling around while on the move will distribute the anti rust oil throughout all the links without leaking through to the bed of your pickup, keeping your expensive logging chains rust free and always ready to use. I built shelving in my woodshed to hold the crates, so everything is all together in its place. To go out to work the beehives means I grab two of the crates and put them in the back of the pickup, then hook them to the eye bolts. Done in less than 2 minutes, and I know everything I'll need is in those crates. For wood cutting, it takes four crates, but all is there and ready for use in minutes. After a tool is used, it goes back into the proper crate.
At the end of the use season, every tool should be inspected carefully. Mauls and axes should be cleaned and sharpened. Any burrs on the top edge of wedges should be ground down flush (wear eye protection!). Files should be wire brushed and sprayed with rust preventative oil. Saws should be sharpened and have the teeth "set" properly. Chain saws should have the bar removed, all debris brushed off with a stiff bristle brush, the air cleaner washed with gasoline and then replaced, and a new spark plug installed. Then you know that when you need them, all the tools will work properly - and you will know where they all are located!
| 1.
Food | 2.
Manna Meals | 3. Water |
4.
Sanitation | 5. Medical,
health |
| 6. Kerosene heaters and cookers | 7. Lighting | 8. Wood cooking and heating | | 9. Communications | 10. Essential Tools | 11. Home built items | | 12. Electrical; generators and power | 13. War preparedness | 14. Gardening | RELATED LINKS:
|
; |
|||||||||||||||||||||


