|
A guide to self reliant living |
||||||||||||||||
|
6. Kerosene heaters and cookers
12.
Electrical; generators
Miles Stair's
SURVIVAL Miles Stair's
SURVIVAL |
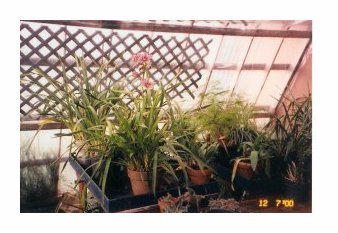
GREENHOUSES FOR GARDENING Yes, we have greenhouses for gardening, two of them. One is a 12 x 12 ft greenhouse that is used for starting seeds in 4" transplant pots and raising tomatoes, etc. The other is 12 x 28 ft, and that I use for over wintering vegetables in 30 gallon pots, and chard, lettuce and other salad greens in 1 gallon pots on shelving. Greens grows all winter here if planted at the right time. I built the greenhouses myself, using 2 x 4's on 2 ft centers for the walls, and 2 x 6's on 2 ft centers for the roof, with 1 x 4's crossing parallel every 2 ft, which makes a firm foundation for the greenhouse fiberglass panels covering each greenhouse.
Semi-Hydroponic
Gardening
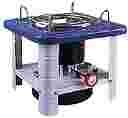
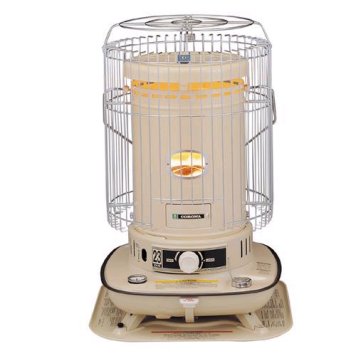
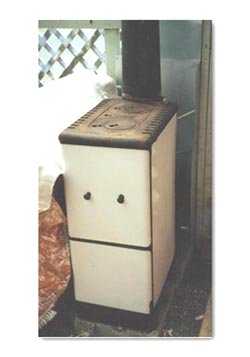
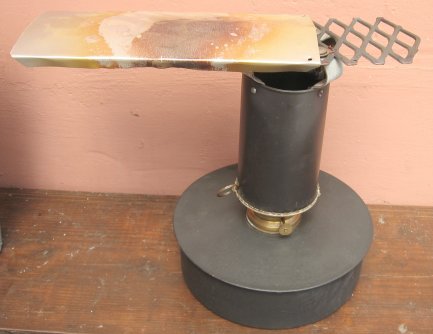
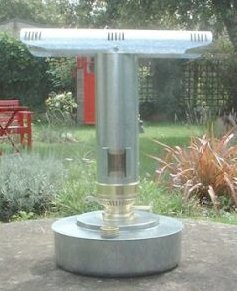
The easiest way to heat large greenhouses is with kerosene convection heater - never a radiant heater, as they can burn the plants. I can heat the big greenhouse with a wood - burning "trash burner" on nights below 32 F as an alternative, but the firebox is small and will not hold a fire overnight, which means setting an alarm clock and getting up to feed the stove. A big advantage goes to kerosene heaters over wood or electric heat: A small kerosene heater will produce enough CO2 to increase plant growth by up to 20%! How much of that is conjecture I do not know, but from my own observations I know that plant growth is definitely stimulated. The greenhouse must stay above 37 F, as that is the freezing temperature for tomatoes and other delicate plants. For temperatures below 32 F but above 20 F, I use a 14 wick Butterfly Model 2628 kerosene cooker with a concrete block on top in the large greenhouse and several kerosene lamps in the small one. When the temperature drops below 20 F, then I use a 10 wick Butterfly Model 2457 with a concrete block or thick steel plate on the cooking rack in the small greenhouse, and they produce enough heat to easily keep the temperature inside above 40 F all night long..
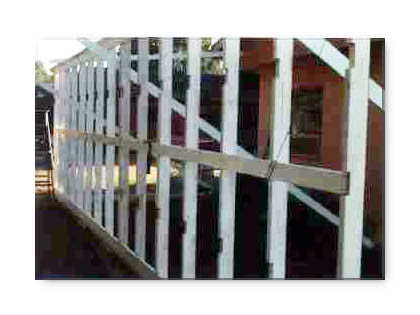
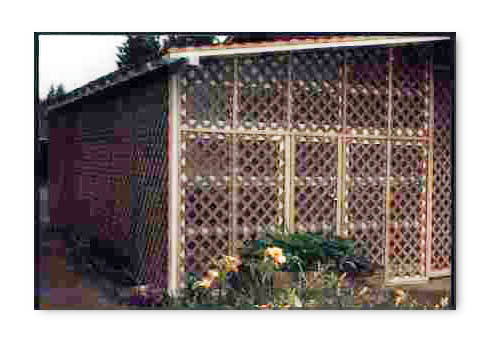
BUILDING A GREENHOUSE Building a greenhouse yourself is not too difficult. One can be made to attach to a side of the house, for example, leaving only 3 sides to construct. They can be covered with plastic sheeting and then lattice on the side and ends, thus reducing the amount of UV-b radiation impacting directly on the plants. The roof is covered with 2 foot sections of corrugated fiberglass panels. The greenhouse construction shown in the photo's is the 12' by 28' greenhouse I made about 8 years ago.
In Photo #1, the long wall opposite the end of the house is raised in place and held by bracing boards. While the wall itself is 28 feet long, the header is 30 feet in length, as I wanted an overhang on the roof. Note that the vertical 2 by 4's are notched every 2 feet (I used a router), so a 1 by 4 will fit flush. This not only adds greatly to stability but also provides additional support for the covering material. I simply lined up a half dozen 2 x 4's on edge, held them in place with large "C" clamps, then cut all the notches the same with a router set to 5/8" depth. One of the notched 2 x 4's was then used as a template for the next batch to be notched, so when I was finished all the notches lined up perfectly.
Photo #2 shows the long wall up and covered with plastic sheeting and lattice panels. The roof is ready for covering at this point.
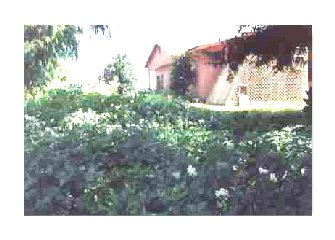
Photo #3 shows the completed greenhouse. The end walls were constructed to allow the lower 6 feet to be removed in 3 sections (two 4 foot and one 2 foot section in the middle), so a rototiller could be run in one end and out the other if needed. The doors were built with 1 x 4's to fit, with cross brace 1 x 4's every two feet, and hinged to swing away from the house.
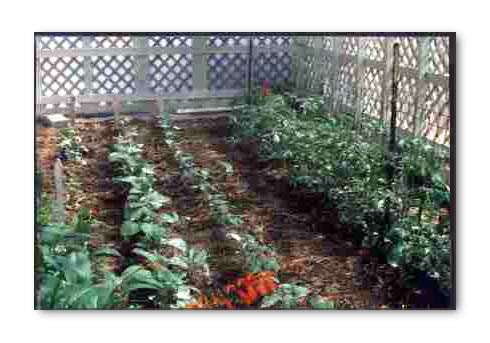
Photo #4 shows tomatoes and peppers going nicely inside the completed greenhouse. It works!
|
|
||||||||||||||